Autonomous grass mowing
Before starting to mow the grass autonomously with GOtrack AutoDrive system some steps need to be done.
SELECT IMPLEMENT
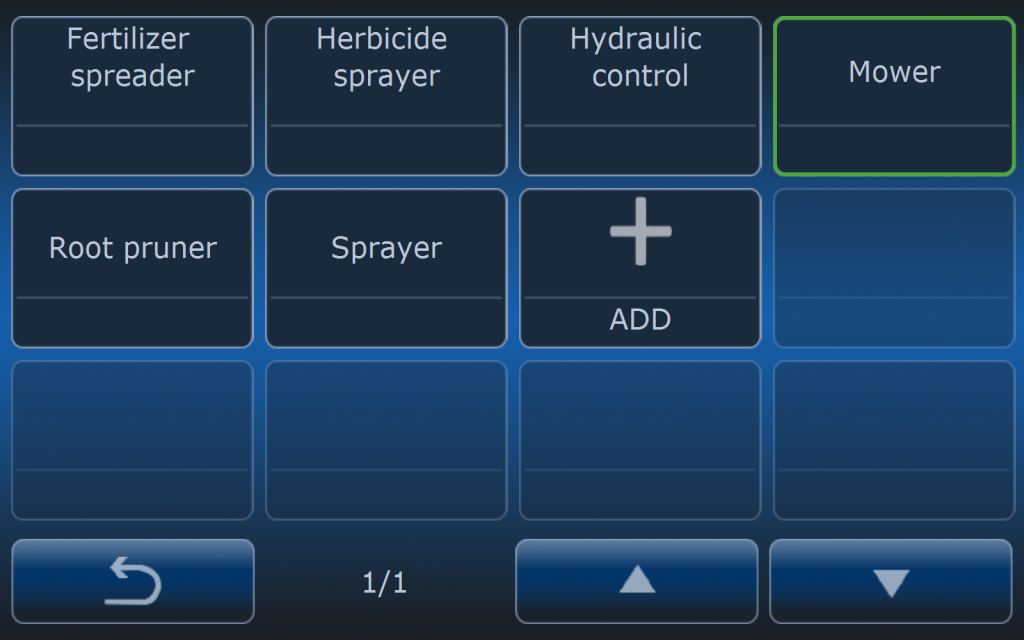
First step to be taken is selecting the right implement. When using AutoDrive system you can do select different type of the implements.
Present selection is shown by the green frame around the implement name.
IMPLEMENT SETTINGS
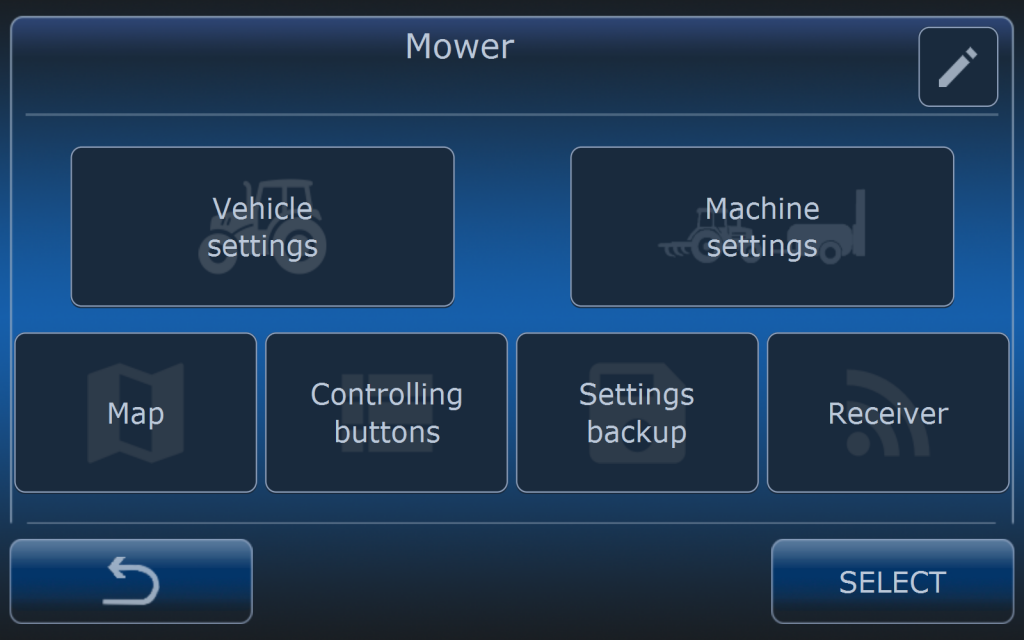
After selecting implement check all it’s settings in the implement menu.
Settings are divided into two main groups:
- Vehicle settings
- Machine settings
There are also some additional settings:
- Map
- Controlling buttons
- Settings backup
- Receiver
Depending on the system configuration different settings are available. Vehicle settings and machine settings are individual for the selected implement. It means that when another implement is selected then settings are changing too. Check article about implement settings where everything is explained.
Most important settings after selecting new machine are:
- Vehicle: speed, engine RPM, PTO and hitch,
- Machine: dimensions.
In genereal implement settings operator has options:
- Map – choose what vehicle or implememnt actions will mark the are on the map as completed,
- Controling buttons – select which buttons will be available on the main screen,
- Settings backup – settings backup,
- Receiver – if implement is controlled by GOtrack controler (blue box) then serial number must be typed in that menu for wireless connection with the controler.
ROUTE SELECTION
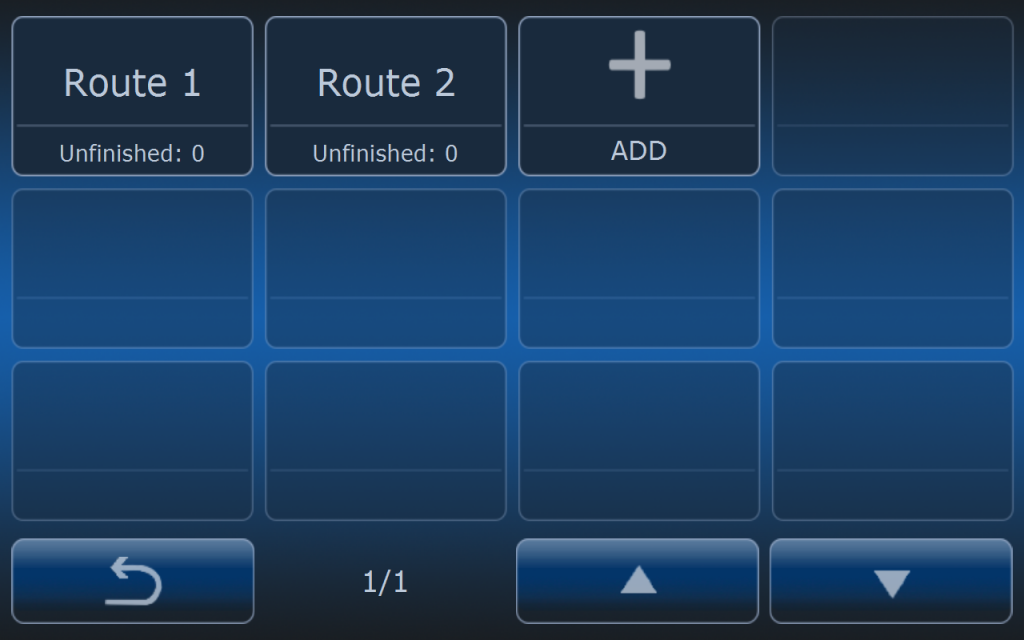
When proper implement is selected and RTK status is available then required route can be selected from the list of recorded routes (check article how to record the route).

After selecting the route operator can see route summary screen.
If there is a need to set different speed especially for one run operator can do it on this screen by adjusting the speed with – and + buttons. Default speed means that speed value is taken from general speed settings for this type of the implement.
Press SELECT button to confirm route selcetion and settings.
GOING TO AUTONOMOUS MODE
When route is selected on the home screen route paths will be visible. At this moment vehicle has to be placed on th the path. It can be anywhere but few conditions must be fullfilled:
- Vehicle has to be no further than safe distance to the path.
- Heading of the vehicle and route direction must be simillar.
- Vehicle has to be placed on the straight section of the path (not corner).
- Avoid starting in the place where another path is very close to the path you want the tractor to follow.
STARTING AUTONOMOUS OPERATION
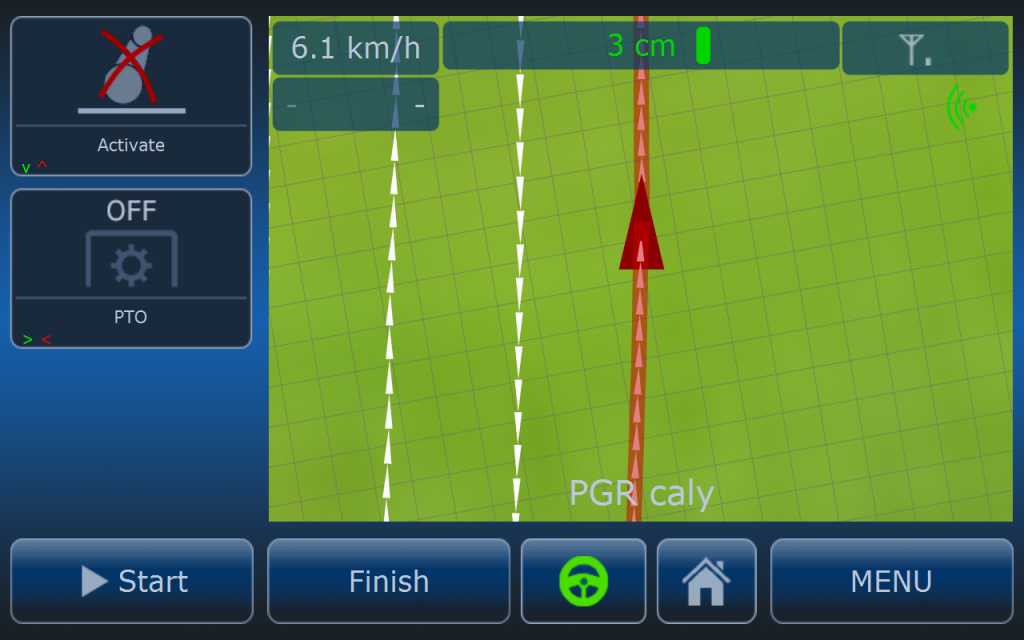
When all requirements are fullfield then steering wheel button on the bottom of the screen can be pressed. After pressing steering wheel converts from grey to green which means system is ready for autonomous operation and START button is availabe.
After pressing steering wheel button pedals (clutch and brake) will be pressed. At this stage operator has to choose demanded gear (if the transmission is manual) or set tracotr to propper mode (if Fendt Vario tracotr gen2. TMS mode must be off).

After pressing START button computer will start to countdown and after that time vehicle will start to drive autonomusly.
Countdown time can be adjusted to operaotr’s needs and these settings are avilable in MENU > GPS > GOTRSCK GPS > SAFETY > STARTING.
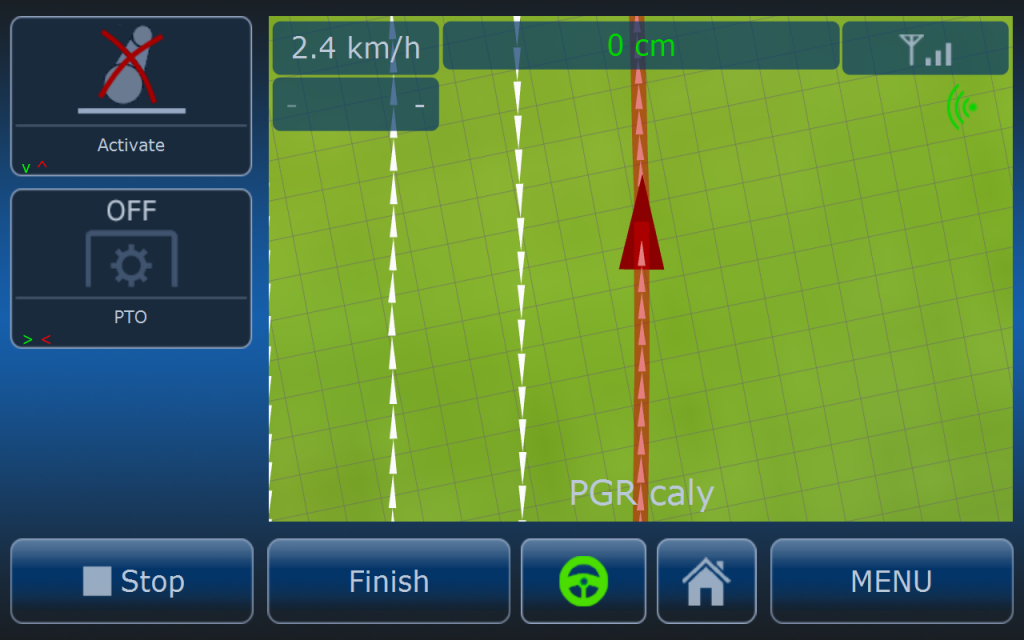
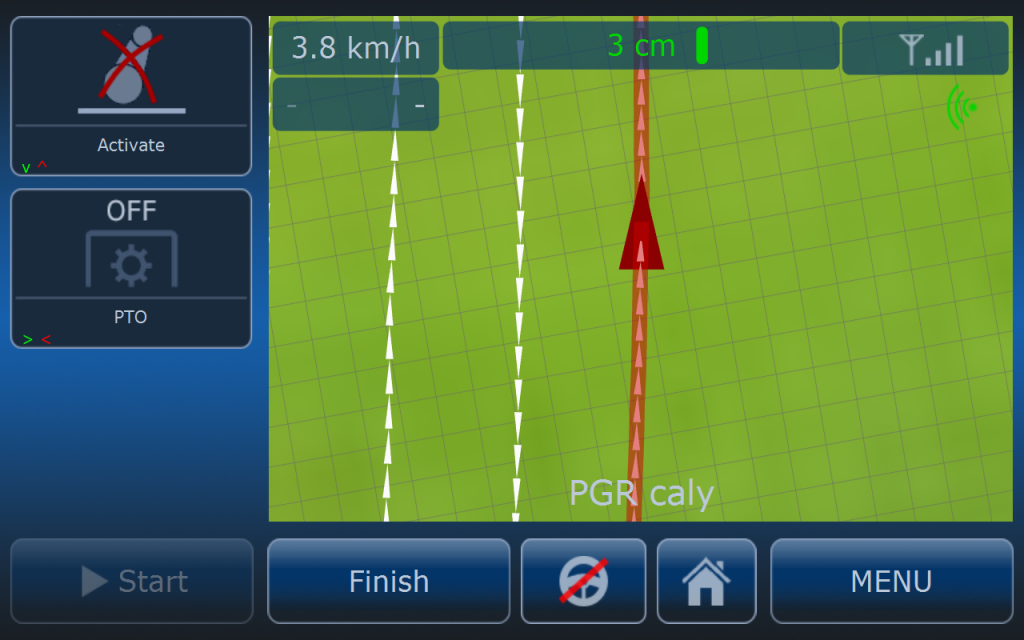
When vehicle is driving autonomously START button is replaced with STOP button which can be always pressed to stop the tractor anytime.
On the top of the map there is some status information:
- speed
- RTK precision
- path distance
- LTE signal
- camera temperature and status
By pressing speed icon operator has shortcut to speed settings where all basic settings related to speed are available.
By pressing RTK precision button operator can enter the menu with status of NMEA messages, RTCM list and GPS status.
END OF THE ROUTE
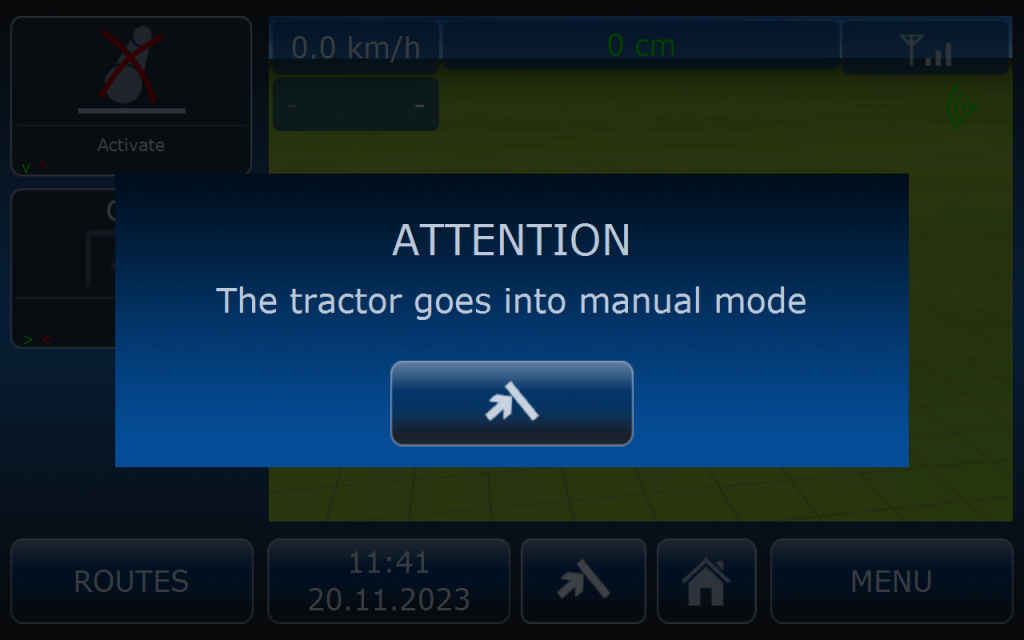
When the route is finished vehicle will stop at the end of the route and this popup screen will appear. Put the gear lever into neutral and press and hold the button to release pedals. System will switch to manual mode.