Sprayer module installation
Figure 5.15 presents the sprayer module with descriptions of the individual elements.
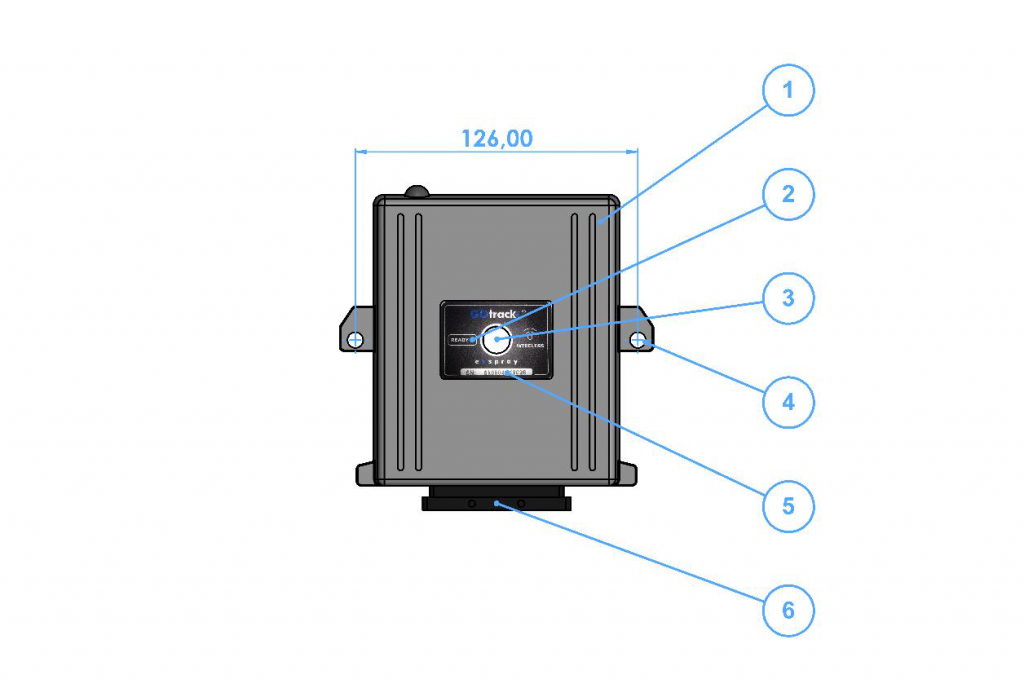
Figure 5.15 Sprayer module with descriptions of external elements. 1 – Module main body; READY control LED; 3 – Module power switch; 4 – d6 mounting hole; 5 – Module SN serial number; 6 – Wiring harness socket;
Install the sprayer module on the sprayer at a location ensuring easy access to the controller power switch for the operator and in a way that allows for the connection of all electric valves and sensors. When choosing the sprayer module location, ensure uninterrupted Wi-Fi communication. Installation of the sprayer module on the back or on the side of the sprayer is not allowed. Installation of the sprayer module in additional boxes is not allowed.
Regardless the configuration kit ordered, the wiring harness is ready for connecting to all the possible sensors and valves supported by the device.
The wiring harness consists of cables that have been described in Figure 5.16.